Wondering how to weld a muffler with torch?
Welding a muffler with a torch is possible if you follow the right approach. It can provide a precise finish and a long-lasting result.
Here, we will walk you through the perfect way to weld a muffler using a torch. Just keep reading the article until we finish.
What Is A Muffler
Most internal combustion engines come with an exhaust system where engineers install a muffler. The internal combustion engine generates excessive sound pressure.
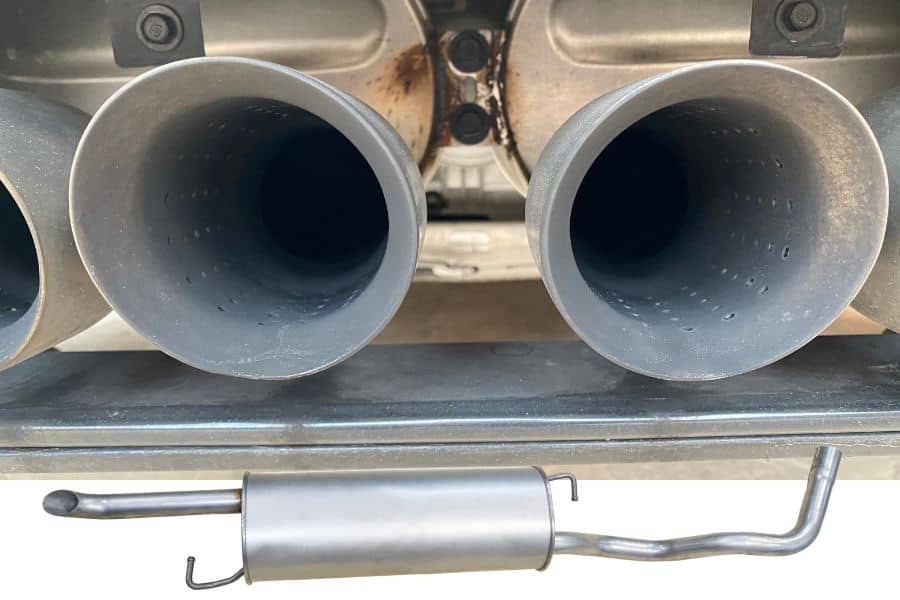
Mufflers work as an acoustic device to decrease this airborne sound. That’s why people also called it silencer. This device is located under the rear of the vehicle.
Can You Fix a Muffler By Welding
If your car’s muffler is partially damaged or has a noticeable amount of rust, you can weld to fix it. First, you need to determine how much corrosion the silencer has.
If the rust amount is not too much, you can use a mild steel welding wire to MiG for joining several pipes together and fix the rusted area. This special wire is not prone to get affected by rust.
Which Type Of Welding Technique Is Best For Welding A Muffler?
When it comes to welding a muffler, you can use the MIG, TIG, and Stick welding approaches. But the best option depends on the condition of your muffler.
For example, if your silencer is extremely dirty, you can use a TIG welder to get a clean outlook. But you can choose a MIG welder if your muffler is made from stainless or steel materials.
Besides, mufflers with thinner metals are ideal for stick welding. However, you need to have the right skill and be a little cautious.
Can You Weld Muffler with A Torch

Welding a muffler with a torch requires selecting the correct type of torch. It needs to provide a considerable amount of heat and thermal energy to weld the metal of mufflers.
Additionally, the torch you want to use for welding a muffler must have a large amount of combustible fuel. Oxy-acetylene, Propane, etc. are great examples of flammable fuel.
Type Of Torch Best For Muffler Welding
Since muffler welding involves a great amount of heat, you want to use the best option. Different types of torches are available for welding exhausted pipes.
1. Propane Torch
You can use a propane torch if your car mufflers have aluminum non-structural metals. A propane torch can reach up to double the temperature of aluminum metals.
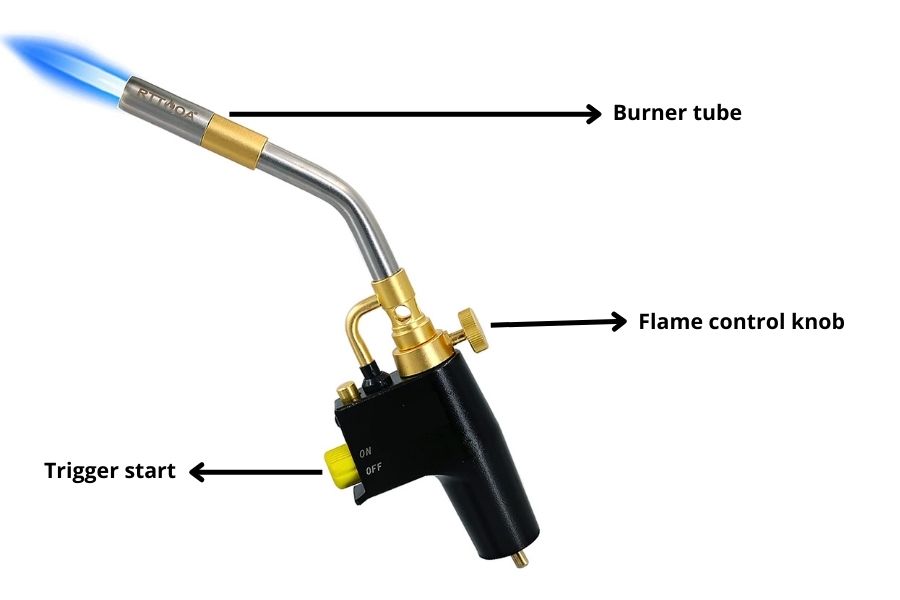
However, you can’t use them for the extreme under weight or pressure. They will fail to reach a high enough temperature for welding a muffler. It is more suitable for thinner metals.
2. Oxy-acetylene Torch
Oxy-acetylene torches are ideal for Mufflers that have stainless steel metals. However, you need to utilize a decent welding flux to safeguard the welding area from unwanted oxygen.
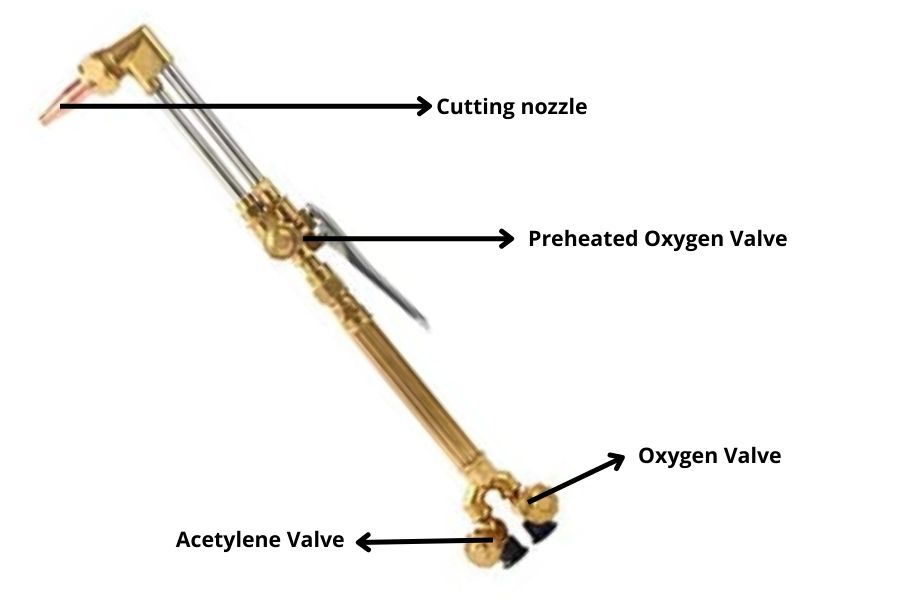
Additionally, adjusting the torch position on time is necessary. This will prevent the oxygen from getting inside the welding zone. But, you must have precise welding skills to weld thin-walled tubes with this type of torch.
How to Weld Muffler With Torch?
Welding a muffler with a torch requires following a step-by-step method to joint both metal parts effectively. Here are guidelines to follow.
Step: 1—Wearing All the Protective Equipment
Before welding your muffler using a muffler, you first need to wear all the protective equipment to ensure optimal safety.
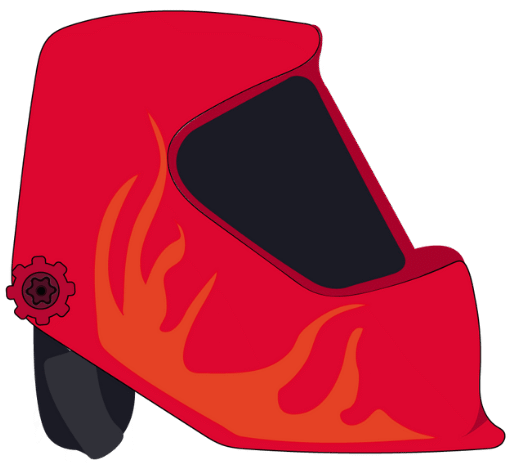
Make sure to wear a good-quality welding helmet or goggles or visor, a full-handed apron, a pair of welding gloves, and a Welding respirator.
Step: 2—Cleaning the Metal Pieces
The next job is cleaning the metal pieces appropriately to get rid of grease and dirt. Then, remove tough debris by using an Emery cloth. Finally, use a good-quality cleaning product to take any oils and dirt that are invisible usually.
Step: 3—Adding Chemical Flux to the Welding Zone
Adding a good quality chemical flux can help you reduce the probability of unwanted fault in the welding joint.
This may happen due to the involvement of the external environment or unstable heating frequencies. Alternatively, you can use shielding flux to create argon gas.
Step: 4—Mixing the Oxygen and Fuel Correctly
Now, you want to appropriately mix the oxygen and fuel inside the torch tank. Keep preparing it until you notice a sparkling blue flame.
Its blue color gives you an indication that the temperature has already reached in perfect level for welding the muffler.
The flame of the blue section has a tip that has the maximum temperature of the welding machine. Use this precise point for welding your preferred metal precisely.
Step: 5— Creating a Tiny Puddle Molten Metal
The next task is to create a tiny puddle of molten metal in the welding area. You need to gradually and steadily shift the flame movement to form this type of molten metal.
Don’t forget to keep the flame next to the welding area to minimize affecting the other untreated spots. Keep holding the torch at a particular location until you notice a weld pool.
Step: 6— Joining Two Metal Pieces Together
Use your torch and keep moving the accumulated molten filler metal towards the jointing point until both metal items are connected to each other.
Make sure to fill up the gap between the two metal pieces to provide a strong and long-lasting connection. If it is needed, use filler rods to fill the gap.
Step: 7—Finishing Up the Welding Task
The final part follows a straight line toward the welding seam and keeps the torch moving. Forming a consonant bead from the filler rod is what you need to achieve.
Finally, give the weld seam sufficiently enough and let it become stronger. It is better to keep it in this condition overnight. Once properly cured, you can test the joint by keeping a load under it.
How Long Does It Take To Weld A Muffler
The ideal time for welding a muffler will vary based on the muffler condition and your welding skills. Additionally, your tools and external environment will affect your welding process. It is especially true when you are welding in a fully open space.
However, it takes around 20-30 minutes to complete a welding session for a muffler. If the muffler is too old, extra time may be required to create a stronger bond between the two metal pieces. Choosing the right equipment can affect the overall performance of your welding.
Also check: How to flux weld body panel
How Do You Hook Up A Muffler Without Welding?
Hooking up a muffler without welding is possible if you know the correct method. Here are quick steps to follow:
- At first, you need to place the new muffler into the exhaust system in its ideal location. You may need an adapter to take the correct measurement of the muffler.
- To prevent vibrating or shaking, move the metal holder slightly towards the rubber eyelet.
- Now, spray an exhaust sealant on the new pipe prior to moving it. The connection between the two pipes will be more secured since it reduces leaking issues.
- Locate to the elastic eyelet and keep the muffler under this eyelet forthrightly. Both pipes should be on the ideal spot relaxedly.
- The next job is sliding the muffler clamp on top of the pipe where one is placed over another. You may need to use a hand wrench to tighten the clamps sufficiently to prevent crumbling issues.
- Now, start the car and check under the area where both the exhaust pipe and muffler are connected. There should not be any leak if you install it correctly.
Is It Better To Weld Or Clamp Muffler?
When it comes to installing a muffler, you can clamp the muffler or weld it. Welding them is better than clamping mufflers because it secures the position for a long time.
Clamping mufflers have a probability of failure for different reasons. In contrast, welding mufflers will keep them in the right location precisely and firmly for years.
Lastly
If you know the proper technique of welding a muffler using a compatible torch, it can last for a lifetime. But as we mentioned earlier, using the correct welding method and utilizing the necessary tools will help you make your job successful.
Hopefully, the above guideline has helped you learn how to weld a muffler with torch. Since the material of the muffler varies from car to car, you need to choose a suitable torch based on it.
Related Articles