
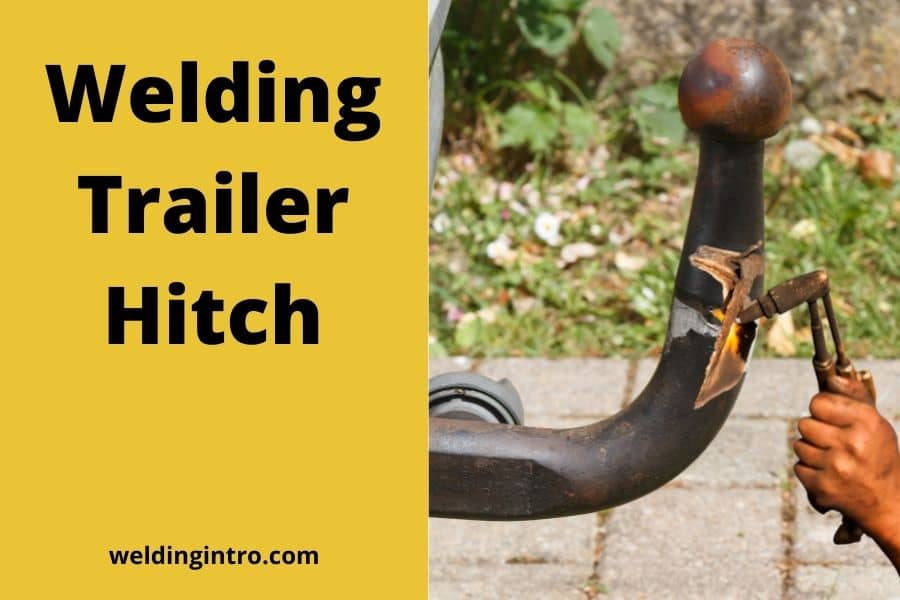
Trailer hitches have a wide range of applications. This handy device attached to the car is used worldwide for carrying stuff with your car, truck, tractor or similar vehicles. If you plan to install a trailer hitch today, this article will show you how you can weld one with your car.
The process is pretty simple, and following my instructions, you can easily do it yourself.
What is a trailer hitch?
A trailer hitch, also known as a tow hitch or tow bar, is a metal device attached tow vehicle depending on where you live. Just as the name suggests, its primary purpose is to tow cars and carry trailers with your vehicles.

However, this metal device has a much broader application.
You can use it as racks for different vehicles, storage buckets, tire mounts, carrying necessary camping accessories, etc. Though the purpose stays the same, there is a wide variation of this device seen in different parts of the world.
Also, there are different variations in installation, size and application.
Can you weld the trailer hitch to the frame?

Before answering this question, let’s look at the variations of trailer hitches in terms of installation. There are two trailer hitches, one mounted on your vehicle’s mainframe. The other type is installed with the bumper and spate from the mainframe.
So, this confirms that you can easily attach your trailer hitch with the frame. A key benefit of installing your trailer hitch with the frame is that it significantly increases the towing capacity.
Which welding method is best for a trailer hitch?
If you are planning to weld a trailer hitch, you might be wondering which method will be a better choice for you. While both MIG and TIG welding is very popular, only one of them is better suited for trailer hitch welding.
From my personal experience, TIG welding proved to be a better option, and let me tell you why. First, TIG welding is already high-quality; on top of that, it’s clean.
So, when the appearance counts, it’s a better choice. Moreover, you won’t have to spend extra time cleaning the spatter. Then comes the gas protection. As argon protects the weld, contamination r slag blocks your view.
Lastly, TIG welding offers all-position welding. You’ll need to weld from different positions when welding a trailer hitch, making TIG welding a far better choice.
Welding trailer hitch to frame (step by step)
If you don’t want to invest in a prebuilt trailer hitch, that’s fine. In this part, I’ll show you how you can weld a trailer hitch for yourself from scratch. Here are the steps you need to follow.
- Step 1: First, you need to grab a steel piece with a 12″ x 5″ dimension and about a half-inch thick. The reason behind this thickness is that it can withstand all the pressure. Then make holes on the metal pieces parallelly to attach necessary attachments.
- Step 2: Now grab a square-shaped steel pipe and weld it on one end of the metal sheet. You can use a flapper disc to bevel the pipe’s edges and the steel sheet’s surface.
- Step 3: Now that the pipe is welded, it needs support to stay attached to the metal sheet and carry the load. Take some metal sheets around 1/8 inches thick and weld them between the pipe and the central metal piece. These pieces will work as cross braces to carry the weight.
- Step 4: Clear out the surfaces on the pipe and the metal sheet for the cross braces. Again use the flap disc at around 60 grit and clear the area whether the braces will be attached. Then, weld the pieces careful with double passes where necessary.
- Step 5: Lastly, when the trailer hitch is ready, you can paint it with black colour for a better look. After painting, you must screw it with the receiver, and your trailer hitch is ready.
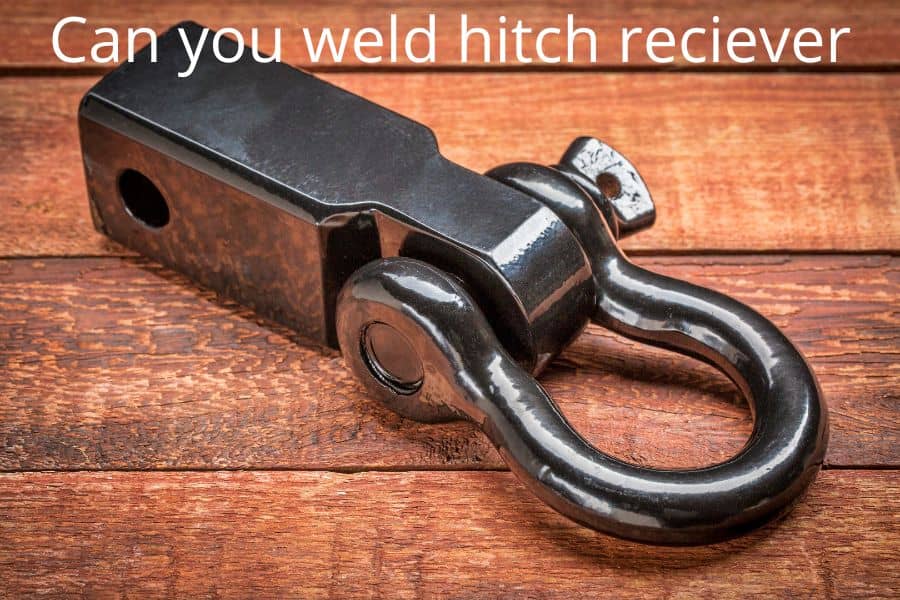
How to weld a hitch receiver
Before you can weld the hitch, you need a hitch receiver to connect with your vehicle. His receiver is just a basic metal structure, and before you install the hitch, you need to weld the receiver correctly to carry the load.
Here are the steps you are going to follow.
- Step 1: First, you need to prepare the surface for the welding. Whether you are mounting the receiver on the bumper or the frame, you need to clear out the paint on the surface. Use a propane torch to burn the paint.
- Step 2: After burning the paint, you can use a cup brush to remove the burnt paint off the surface of the frame or the bumper.
- Step 3: Take a flap disc to clean the mill scale. At this point, you should see the clean, shiny metal point below the paint. Next, clean the area where you want to attach the receiver.
- Step 4: Now that the surface it’s prepared, let’s prepare the receiver piece. Keep the receiver on a flat surface and bevel the edges using the same flap disc. The bevels should be on the side that will get attached. Now it’s ready to weld.
- Step 5: After placing the receiver on the bumper surface, first you need to attach the clamp to the surface, then lay down some tack. Considering the thickness of the receiver and the welding surface, a 1/16 inch filer should do the job.
- Step 6: After laying the tack, let’s get a 1/8 inch filler and get to welding by attaching the clamp to the receiver. Keep the welding consistent; for a better result, you can use a double pass where necessary.
Last Words
That’s a wrap for today. I hope my article was helpful enough to give you a brief idea about welding a trailer hitch. Of course, you can always go for a trailer hitch that doesn’t require welding.
But a welding one will be much stronger, and you have a sense of durability when using it.
Related Articles