
Flux core welding is one of the simplest welding processes you can learn as a beginner. But you might be wondering whether you can utilize this welding method for welding floor pans.
Welding floor pans with flux core require you to follow some crucial steps; use correct tools & materials, and maintain the ideal temperature.
Let’s learn how to weld floor pans.
What is Floor Pan?
In simple words, a floor pan is considered a sheet metal stamping that is relatively large. Usually, it plays a key role in including numerous welded stampings together, forming your car’s floor, and positioning its structural panels in the best way possible.
As a result, it’s the foundation among automotive enthusiasts for being a key mechanical component. The floor establishes your vehicle’s body, chassis, and overall size.
Can You Weld Floor Pans With Flux Core?
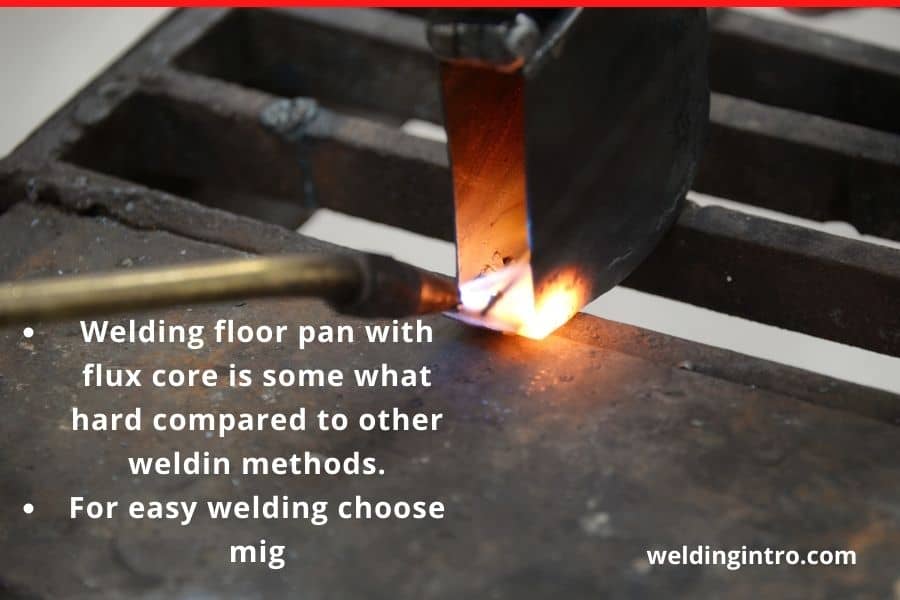
Since floor pans are a little thinner material, you need to be cautious regardless of your welding approach. However, flux core welding is a little bit complicated for floor pans.
A versatile and expert welder can do flux core welding better. Beginners can give a try but it will be pretty messy and frustrating in most of time. They need to be pretty good at welding thick stuff. So, before flux core welding you must try mig welding or stick welding and get some experience.
Then, beginners can try thin metals such as floor pans. Pro welders know advanced techniques. They don’t depend on the machine. Instead, their welding skills play the key to precise results.
New welders can get some welding instructions and practice it on obsolete items to get better results. Correctly adjusting the heat is one of the key factors to successfully welding floor pans.
Is It Hard To Flux Core Weld Floor Pan?
Flux core welding for floor pans is pretty hard. But it is not impossible. As mentioned earlier, achieving a successful result takes some extra caution and steps.
The welder you use needs to be good in quality. Plus, it must have a minimum of 6amp ranges. More options will be a better choice. Experts prefer to have eight settings on average.
Besides, your welder needs to have a variable wire speed. It will give you better control over the weld penetration amount and different amperage settings.
Plus, you don’t want to weld the entire floor pans continuously. Instead, weld a series of spots and check out welding quality. Then, move to the next area.
Appropriately dissipating the heat during the welding procedure is crucial. Otherwise, the welded zone will not dry quickly. This will slow down your welding process.
Which Welding Type Is Best For Floor Pan Welding?
MIG welding is the best suitable method for floor pan welding. You can get clean and nice welds from this type of welding approach.
Plus, it produces a small amount of slag on the metal surface. If you want to weld a too old floor pan, using flux core welding will require a lot of clean-up.
You may need to do a lot of grinding to clean the pan before welding it. But MIG welding will at least reduce the hassle of welding.
Moreover, MIG welding works faster. This will reduce the lead time. As a result, the overall cost will drop too. Achieving a high level of precision with an excellent welding finish is what you will like.
How Much Does It Cost To Weld Floor Pans
The average cost of welding floor pans can be anywhere from $400 to $800, depending upon the products you buy. If you already have a good welder, you will save almost half.
The price of a decent welder can be around $160 to $300. Choosing additional items increases the total costs. But it may give you better welding results if you can utilize the resources correctly.
Flux Core Welder Setup and Wire Requirement for Welding Floor Pan
Make sure you have an angle grinder with abrasive flap wheels. This will help you completely clean off all surfaces before welding.
Otherwise, it may lead to unsuccessful welding due to rust, undercoating, or paint. Also, you need to buy a bottle of welding gas from a welding gas company.
A good quality welding gas will prevent porosity and excessive spatter. More importantly, the welding gas keeps the atmospheric gases from entering the welding zone.
You will need 0.023-0.025 wire for welding. Anything more than this will be harder to control. Plus, you may burn the thin metal.
Moreover, some clamps will come in handy for different welding parts of the floor pan. You can buy some Cleco pins. This temporary fastener is easy to get.
How to Weld New Floor Pans (Step By Step)
Knowing the right approach is vital to welding floor pans with flux core. Otherwise, you will not get a precise result.
Here is the step-by-step guideline to weld new floor pans.
- Step: 1- Wearing the Safety Equipment
Before working in the welding area, make sure you wear protective eyewear, welding gloves, and a mask. Also, keep a face shield to use during the welding session.
Protective eyewear will keep your eyes safe from debris and slag, whereas welding gloves will prevent hurting or cutting your fingers
- Step: 2- Cleaning the Floor Pan Surface
At first, you want to clean up the floor pan surface to make it free from paint, rust, and other contaminants. You can utilize an angle grinder with abrasive flap wheels.
A smooth surface allows you to weld the floor pan more conveniently. You will not end up in any accidental direction that would damage the welding.
- Step: 3- Connecting the Workpiece Using Clamps
Now, attach the clamp to the workpiece to hold them firmly. Alternatively, you can use magnetic squares or a locking plier. These clamps will keep the floor pan’s parts in place while you are welding. As a result, they will not move unnecessarily.
- Step: 4- Making Out the Wire
Inspect the condition of the weed feed trigger and squeeze it appropriately as long as the wire reaches outward around 13mm from the tip section.
Maintain appropriate distance while holding the trigger. Unless there is enough wire coming out from the tip, you should not contact the weld tip on the workpiece.
- Step: 5- Choosing the Right Setting
Then, read the weld chart carefully and choose the suitable wire feed and current setting. Changing the amperage setting is crucial. Make proper adjustments gradually.
Since floor pans are thin metal, you can’t work on higher heat initially. Increase the heat gradually depending upon its thickness level.
- Step: 6- Welding the Floor Pan
Add the wire on a particular area of the flex core you want to weld and pull back fast to strike the arc. Squeeze your trigger as long as the gun is moved along the floor pan.
Before moving to the next area, ensure the current location is appropriately welded. Otherwise, it will be tricky to get the job done.
- Step: 7- Maintaining the Right Speed and Temperature
Follow the correct speed for the floor pan. This may take a few tests to get precise results. Practicing on obsolete items will help you improve your welding skills.
Use the same technique to weld the entire floor pan. But avoid welding all the areas at a time. Maintain adequate intervals to let the welding area dry appropriately.
- Step: 8- Finishing the Welding Task
Once you are done with the welding, unplug the welding machine. Then grab a slag chipping hammer and remove all the slag from the welding area.
You can use a nylon wire brush to get off a tiny amount of slag out. Let the welding area dry appropriately. Check out the welding condition if it requires further welding.
Once you are happy with the welding result, paint the surface with your preferred color. Make sure to clean the surface before applying the paint. This will ensure better paint adhesion.
Bottom Lines
Are you still wondering about the procedure of welding floor pans with flux core? We have already mentioned the step-by-step guideline to successfully weld floor pans.
Since it is a bit complicated process, practice is a must. Otherwise, you will get a reliable result. Don’t forget to wear safety equipment too.
Related Article