
Spattering problems may occur in welding for various reasons, such as incompatible welding metals, dirt or contaminated materials, inappropriate welder voltage settings, wrong welding technique, incorrect welding gas, welding equipment problems, incorrect welding speed, improper wire feed speed, improper gas flow rate etc.
What Does Spatter Means In Welding?
Spatter in welding refers to the unwanted droplets of molten metal non-metallic material that can scatter beyond the intended weld area during the welding process.
It results in unsighted globules of material due to the disturbance of the weld pool of molten material. The metal particles from the weld are jammed in the area adjacent to the welding zone.
Simply put, the welds are not coming out as clean and fresh as you expected. They are splashed or scattered during the welding procedure.
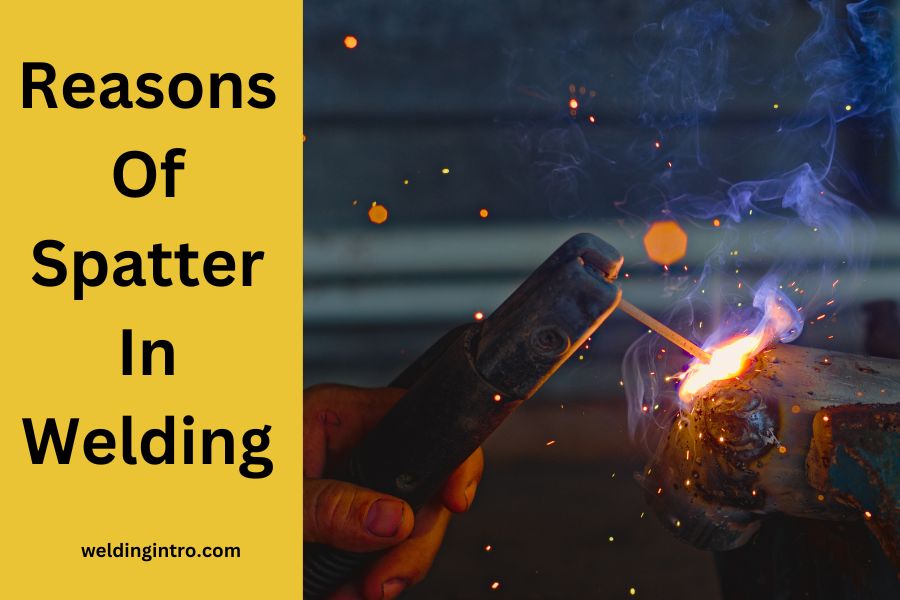
Reasons Of Spatter In Welding?
Spattering problems in welding can happen for dozens of reasons. Here, we are going to mention some common causes of this issue.
Reason: 01 — Incompatible Welding Metals
Some welders use incompatible and cheaper metals to save a few bucks or due to negligence. Not all metals are ideal for use as fillers for welding a particular type of metal.
For example, you can’t weld aluminum to steel, titanium to steel, carbon to stainless steel, etc.
If you try to weld the above mentioned metals together, then spatter problem will arise. You need to use the right type of metal and compatible filler material, filler rod, and welding wire to have spatter free weld.
Solution
- To eliminate the spattering problem, you first need to determine desired characteristics of metal. Here, you need to choose high-quality materials for welding. Make sure, it has a reasonable degree of ductility to deform properly without breaking. Choose a filler metal with a good mechanical strength and toughness combination.
- Plus, be cautious while choosing filler solid wires in case of mig welding. It must have adequate mechanical and chemical properties to handle the welding task minimizing the risk of cracking, corrosion, and/or weld defects
Reason: 02 — Dirty or Contaminated Materials
Any dirt or contaminant substances on the welding surface will result in molten metal spitting, leading to a excessive spatter. It would reduce the base material’s weldability. Presence of oil, dirt, dust, or other substances on the welding surface might lead to slag inclusions hampering the welding process.
Moreover, welding on dirty or contaminated surfaces may cause porosity (a weak, bubble-filled weld with a small hole or pores).
Solution
- Perfectly preparing the metal is crucial for a successful welding operation. Properly clean the surface of the metal. It will have a positive impact on the appearance of the final weld and would reduce the overall operating costs of the project. If necessary use a chipping hammer to loose the rusts on the metal.
- Furthermore, you can apply common industrial solvents, such as Acetone, to get off contaminants or impurities from the metal surface before welding. Apart from that, you can get rid off lingering particles just by grinding off the rust and paint from the surface.
- Make sure to clean rag with a wire brush and to use protective coatings after finishing welding.
Reason: 03 — Inappropriate Welder Settings
Whether you are following TIG, MIG, or Stick welding technique, maintaining the correct welding settings of voltage and amperage is crucial.
For example, your welding wire speed for MIG welding will determine the ideal amperage. If you use too high an amperage, it will cause weld spattering problems. Likewise, a too-low voltage will result in spattering issues in MIG welding.
Incorrect polarity or insufficient shielding gas flow can also cause spattering problems. It will lead to poor joint preparation and weaken the joint.
Solution
- Right welding parameter is essential to avoid weld spatter problems. It ensures minimal spatter issues if applied correctly. For example, 13-15v amperage with 0.024-inch wire is enough to mig weld aluminum. You may keep the wire feed speed from130 to 160 ipm in MIG welding. But if the wire size is 0.30-inch, you will need to use 15-17v power and 75-100 ipm wire feed speed to weld the same metal. So, your wire size must be consistent with the amperage applied.
- Always go through the welding machine’s manual. It contains essential information on proper operation and safety guidelines. You must follow those.
Reason: 04 — Wrong Welding Technique
Are you 100% sure that you are following the right welding technique?
Using the wrong arc length, travel angle, and travel speed can cause spattering problems.
For example, if the arc length is too long, it is expected to produce a ball on the end of the electrode if you are tig welding. When the ball is detached and dropped into the puddle, it will lead to a weld spatter.
Likewise, when you move the arc too fast, it would rapidly pour an excessive amount of filler metal into the weld area which in turn can cause spattering issues.
Solution
- Depending on the particular welding method, your welding technique must change. For example, it is necessary to hold the welding gun 15 degree angle in MIG welding. While 90 degrees angle is essential for a butt joint.
- The torch angle should be between 15 to 20 degrees for TIG welding. Don’t hold the welding torch at 45 degrees otherwise you will lose a lot of coverage from shielding gas.
- For flux-core or MIG welding, the arc length should be between 3/8 to 1/2 inch while maintaining 1/5 inch between the and workpiece. rod contact tip
- But in TIG welding, the ideal welding arc length depends on the electrode diameter. If the electrode diameter is 1 inch long, the arc length would be 1.5 inches.
Reason: 05. Incorrect Welding Gas
Using correct shielding gas is an essential requirement for better weld quality. Apart from affecting weld penetration profiles, arc stability, and mechanical properties, a wrong welding gas may cause spattering problems.
Shielding gases of inferior quality can affect the spatter level too.
Solution
- Regarding MIG/MAG welding, you can use Argon or argon/helium mixtures in almost all welding grades. The mixture should contain 75% argon and 25% carbon dioxide to get good weld penetration and flow rate can vary from 25cft to 31cft.
- On the contrary, you can use 100% pure argon gas for TIG welding.
- However, you may need to use tri-mix gas in some cases. For instance, He/Ar/CO2 is the best shielding gas to weld stainless steel materials.
How To Prevent Spatter In Welding?
- Ensure a constant current flow and maintain the same output for welding from the very first to the last.
- If you want to create consistent and precise welds, don’t forget to maintain constant wire feed operation, especially for high-specification applications.
- Keeping the outer air or draft, less exposed to the welding workpiece, is a good rule of thumb because it can disrupt the delivery of the shielding gas during the welding process.
- Make sure to use the correct drive roll tension. It should not be too loose or too tight. Otherwise, it will cause spatter issues.
- Test the right welding technique before finally applying it on the main welding piece. It can be pushed or pulled. Your main goal should be avoiding or minimizing spatter problems.
Recommendations For Spatter Free Welding
Achieving a completely spatter-free weld bead is challenging, but certain welding techniques and parameters can help minimize spatter. Here are few recommendations for a cleaner weld bead with reduced spatter:
- Optimal Voltage and Amperage Settings:
- Adjust the welding machine settings, such as voltage and amperage, to the recommended levels for the specific welding process and material. Optimal settings contribute to better control and reduced spatter.
- Correct Shielding Gas:
- Use the appropriate shielding gas for the welding process for quality welds. The type of gas and its flow rate can significantly impact spatter. Consult welding charts or guidelines for recommended shielding gas combinations.
- Electrode Selection:
- Choose the right type and size of electrode for the welding application. Proper electrode selection contributes to stable arc characteristics and reduced spatter.
- Welding Technique:
- Maintain a consistent travel speed and angle during welding. A steady and controlled technique minimizes disturbances in the molten metal and welding pool, reducing the likelihood of spatter.
- Clean Base Material:
- Ensure that the base metal is clean and free from contaminants, such as rust, oil, or paint. Contaminants can contribute to spatter and compromise the quality of the weld. Clean them before starting welding to reduce chances of spatter & get clean welds.
- Anti-Spatter Sprays:
- Apply anti-spatter gels or spray to the workpiece, welding gun, and surrounding areas. These protective coatings help prevent spatter from adhering to surfaces, making post-weld cleanup easier.
- Welding Position:
- Consider the welding position. Flat and horizontal positions are generally more conducive to spatter-free welding compared to vertical or overhead positions.
- Maintain Equipment:
- Regularly inspect and maintain your welding equipment, including the torch or gun, to ensure proper functioning. Damaged or worn components can contribute to excess spatter.
- Training and Skill Development:
- Practice good welding techniques and seek proper training. Developing welding skills and experience contributes to better control over the welding process, leading to cleaner welds.
It’s important to note that achieving completely spatter-free welding may be challenging in certain situations, and some level of spatter may still occur. Implementing these recommendations, however, can significantly reduce spatter and contribute to improved weld quality.
Summing Up
Welding spatter can happen for various reasons. Your main goal is to figure out the root cause of this problem and deal with it. Once you find the main reason for this issue, ensure it doesn’t repeat in the future for achieving a precise welding result.
Also check Our Guides On