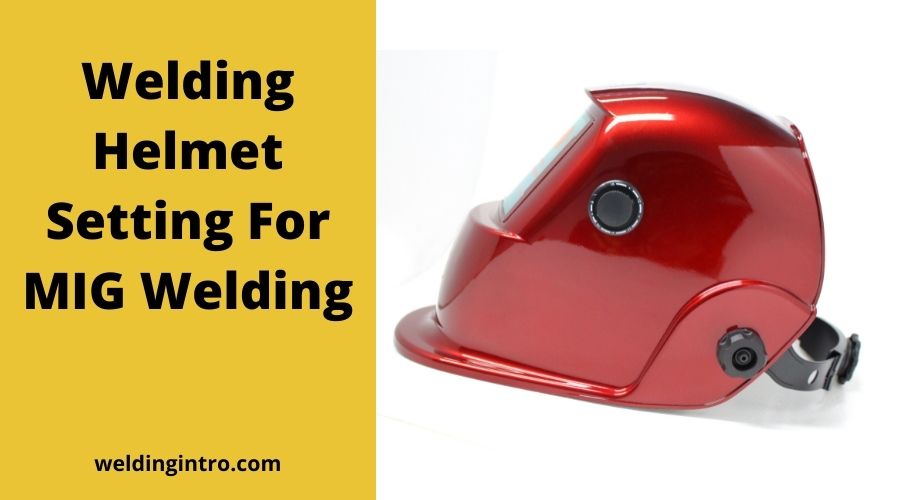
Protective gears are a must for any type of welding, and MIG welding is no different either. One of the most crucial parts of any welder’s protective setup is their helmet. From the heat and exposure to infrared light, the eyes can get hurt badly without a good helmet. At the same time, welders often make the mistake of thinking that just wearing the helmet is enough.
With the advancement of technology, there has been the addition of different modern technology and setting. These settings help the welders have superior vision and eye safety. However, to get the best out of these modern-day MIG helmets, you need to know how to calibrate the helmet properly.
So, today, I have tried to demonstrate how to set the welding helmet settings for Mig. So, without further ado, let’s begin.

Do You Need A Unique Helmet For MIG Welding?
The answer to this question is yes. You need a unique helmet for MIG welding that will protect your eyes when necessary and provide the support for the best MIG welding.
The helmets must know the level of darkening shade, exactly when to get darkened and how fast the darkening should happen in case of mig welding. Conventional welding helmets lack these feature.
What Type Of Helmet Is Good For MIG Welding?
There is no fixed type of helmet which is suitable for MIG welding. It’s actually a set of features that make up for a good MIG welding helmet. The helmet should have a variable darkening level for better protection and versatility for starters.
Then it should at least have four arc sensors to determine the amount of light emitting accurately.
What Settings Should You Keep In Mind In The Case Of MIG Welding?
There are a few settings that you should especially keep in mind in the case of MIG welding. Let me start by saying that not all settings are equally important.
Typically, the shade level setting, reaction time, and sensitivity settings are the most important ones as these directly affect the safety and welding results.
Important Settings To Adjust
There are several settings you should keep in mind while MIG welding, both for the sake of your safety and welding performance. Below, I have talked about these settings in detail to help you get a better idea.
Sensitivity To Light
Previously, I have mentioned that the lens on the helmet gets darkened to a certain level and protects the welder’s eye. So, how does the helmet know when to darken?
In this case, the sensitivity of the helmet determines how much infrared light is required to darken the lens. While the sensitivity set at zero means, the lens only gets darkened in bright light, setting ten means the lens will get darkened in minimal light.
It’s best to start at somewhere around level 5 to 6 for MIG welding and work your way down as the lens stays dark for too long.
Setting Delay Time
Delay time setting is another important aspect of a welding helmet. Delay time refers to the period before the light hits the sensor and the lens gets darkened. For every welding job, the delay time needs to be perfect.
Otherwise, your eyes can get exposed to the harmful infrared lights due to delayed timing. There is actually no fixed time for MIG welding, and you should experiment with the timer set between 1/2500ths second to 1/3600ths second to find a comfortable delay time.
Arc sensor
This is not actually a setting per se. Instead, you need to consider the number of arc sensors for your MIG welding helmet. But before that, let’s have a look at what this arc sensor does.
So, the arc sensor does the job of identifying the intensity of light from the welding. According to that information, the helmet gets dark automatically.
You should opt for at least four arc sensors for MIG welding to have a clear line of sight in out-of-position welding jobs.
Shade Number
A welding helmet does the job of protecting the welder’s eyes from infrared light. So, which part of the helmet plays the key role? It’s the lens with shade that gets darkened and protects your eyes. A shade number describes the level of darkening.
The shade number indicates how dark the glass is in the lens. As the number goes up, the lens keeps getting darker and darker. The rule of thumb is that the shade level should depend on the amperage level.
If the shade level is not calibrated correctly, it can be super harmful to our eyes. For more versatile welding projects, you should look for a welding helmet with variable shade levels.
Setting And Adjusting Lens
Setting and adjusting the lens is relatively easy in MIG welding helmets. Thanks to the knob on the top of the helmets, welders can easily change the lens without even taking the helmets off. This way, it’s more convenient and time-efficient for welders.
Requirements For Lens To Use For MIG Welding
There are several requirements that the lens has to fulfill before it becomes fit for MIG welding. Firstly, the lens needs to have a decent reaction tie to react fast when the infrared light comes out. The main lens requirement for MIG welding is the darkening level.
For MIG welding, the shade level should be set at 10 to 13 as they have a higher capacity for filtering out the harmful radiating lights. However, if you have a variable shade control, you should try different levels to find the best fit for yourself.
Conclusion
That’s a wrap for today. I hope my article was helpful enough to give you an extensive idea about settings for MIG welding helmet. As you can see, setting up a welding helmet for MIG welding is pretty easy if you know how to do it properly. Even if you are having a hard time now, with time and experience, setting up the welding helmet will be easier.
